
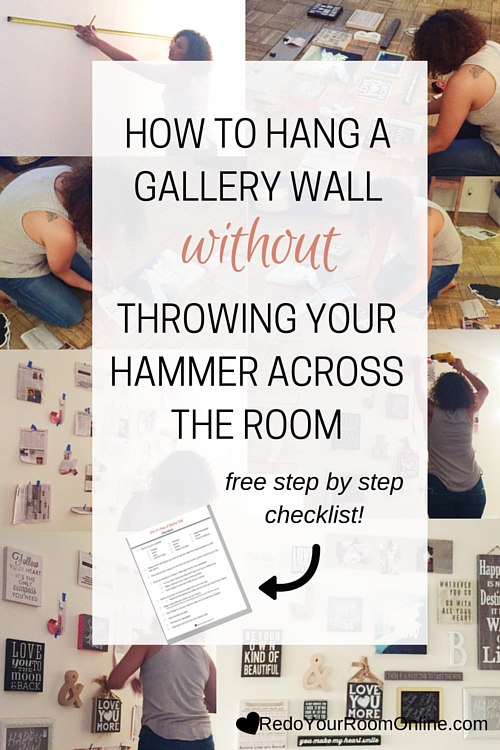
How To Hang a Gallery Wall Without Throwing Your Hammer Across The Room
Ever stumble upon a wall full of pictures hung all neat and pretty on a wall and wonder how the hell it was done?
As pretty as these photo gallery walls look, they can be intimidating and let me tell you if not planned, can turn into a big fuck up.
Think about all the things that can go wrong. Messing up the layout or worse your walls, oh and let's not forget, going insane in the process.
I remember my first time trying this project out. Not pretty at all.
I cried like a little bitch and the idea of throwing my hammer across the room and giving up, crossed my mind more than once - trust me. All because I tried to wing it and didn't plan.
Big mistake.
I was ready to grab my spackle paste and cover up all the holes I made and call it a day, but I decided not to give up.
I took a step back and planned out this process. With a little planning, this project became easy peasy and actually one of my fave DIY home decor projects to do.
I recently created a gallery wall for my little sister who just moved into a new apartment. She's been stalking these gallery walls on Pinterest and asked if I could do one for her. And so I did. Anything for my little sis (don't mind the lighting in the pics, she hasn't bought any extra lighting yet).
I thought I'd share the process with you just in case you've probably wanted to try to create a gallery wall of your own in your room, but haven't tried it for the fear that you might fuck up big time. It's time to get gutsy and finally take a stab at that "how to hang a gallery wall" project you've been putting off all this time. I'll bring the tips and you roll up your sleeves and follow along.
Since I'm crazy cool like that, I created a FREE step-by-step checklist to help you create one of these gallery walls all on your own (just enter your 411 below to grab it).

Grab your FREE step-by-step checklist: How To Hang A Gallery Wall
Now let's get to the tips for how to hang a gallery wall...
How To Hang a Gallery Wall: Gather Your Supplies
You'll need a few supplies for this project:
frames
level
nails
painter's tape
hammer
pencil
ladder
measuring tape
paper/newspaper
velcro
a friend is optional, but helpful as hell
I like to also use my little waitress belt (you know the one with the pockets). I use it to hold my supplies - usually the little things like nails, level, etc. It helps especially to keep my supplies at hand.
How To Hang a Gallery Wall: Measure Your Wall Space

You'll need to mark off the space you want to use for your gallery wall with pencil. This will help when you're creating your layout and will ensure that all of your frames fit within the space on your wall.
How To Hang a Gallery Wall: Create a Layout

Mark your measurements on your floor then place your frames on the floor within these measurements.
Now play around with a layout until you come up with something you like. Click here to check out some layout ideas if you're having a Sponge Bob moment (you're forgiven).
How To Hang a Gallery Wall: Trace Out Each Frame

Now that you've got your layout you'll need to trace out each frame on newspaper. Don't forget to mark out the hook of each frame (this is the area that you'll actually hammer your nail into when hanging your frames).
I like to just put pressure on the paper on the area where the hook is so that it creates an indent on the paper (this makes it super easy when it's time to hang my nails). It's also a good idea to either take a pic of your layout or make a note of each frame on the newspaper (this will help a lot once you are going to tape up your cut outs onto the wall).
How To Hang a Gallery Wall: Tape Your Cut Outs
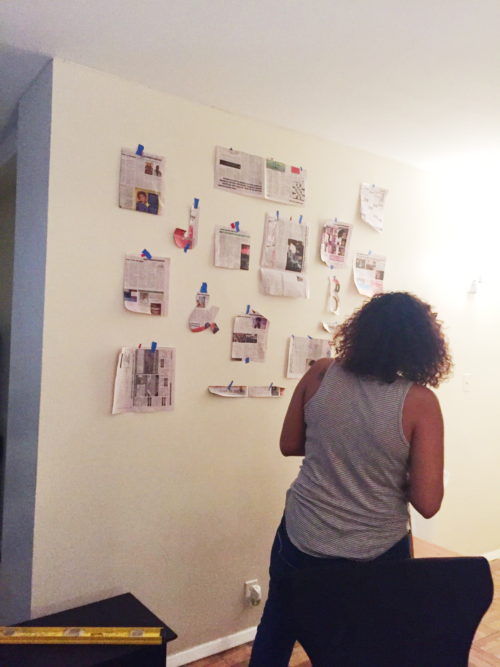
Referencing the picture that you took of your layout, tape your cut outs onto the wall. Use your level to make sure everything is straight.
Take a step back to check out your layout. If you're not feeling it, this is the time to move things around until you come up with something that you do like.
How To Hang a Gallery Wall: Hammer Away

Now the fun part begins! Start hammering the nails onto the markings of the hooks to your frames that you made earlier when you traced out your frames. Hang your frames and remove the paper.
You can remove the paper first and then hang, but I like to do the reverse so that I don't have to keep looking at my phone to reference the picture of my layout. Do whatever works best for you. You may need a friend to help you hang some of your frames, especially if you have high ceilings.
If you have pieces that don't have a hook for hanging (like the letter J in the pic below, just use velcro to mount it to the wall).
How To Hang a Gallery Wall: Hammer Away

Now step away and admire!
I hope that this DIY project on how to hang a gallery wall will inspire you to be bold and try this on your own (share pics with me on social media, I'd love to see them!)
If you're still feeling helpless about decorating your room? I can help, just click here and hit me up.